
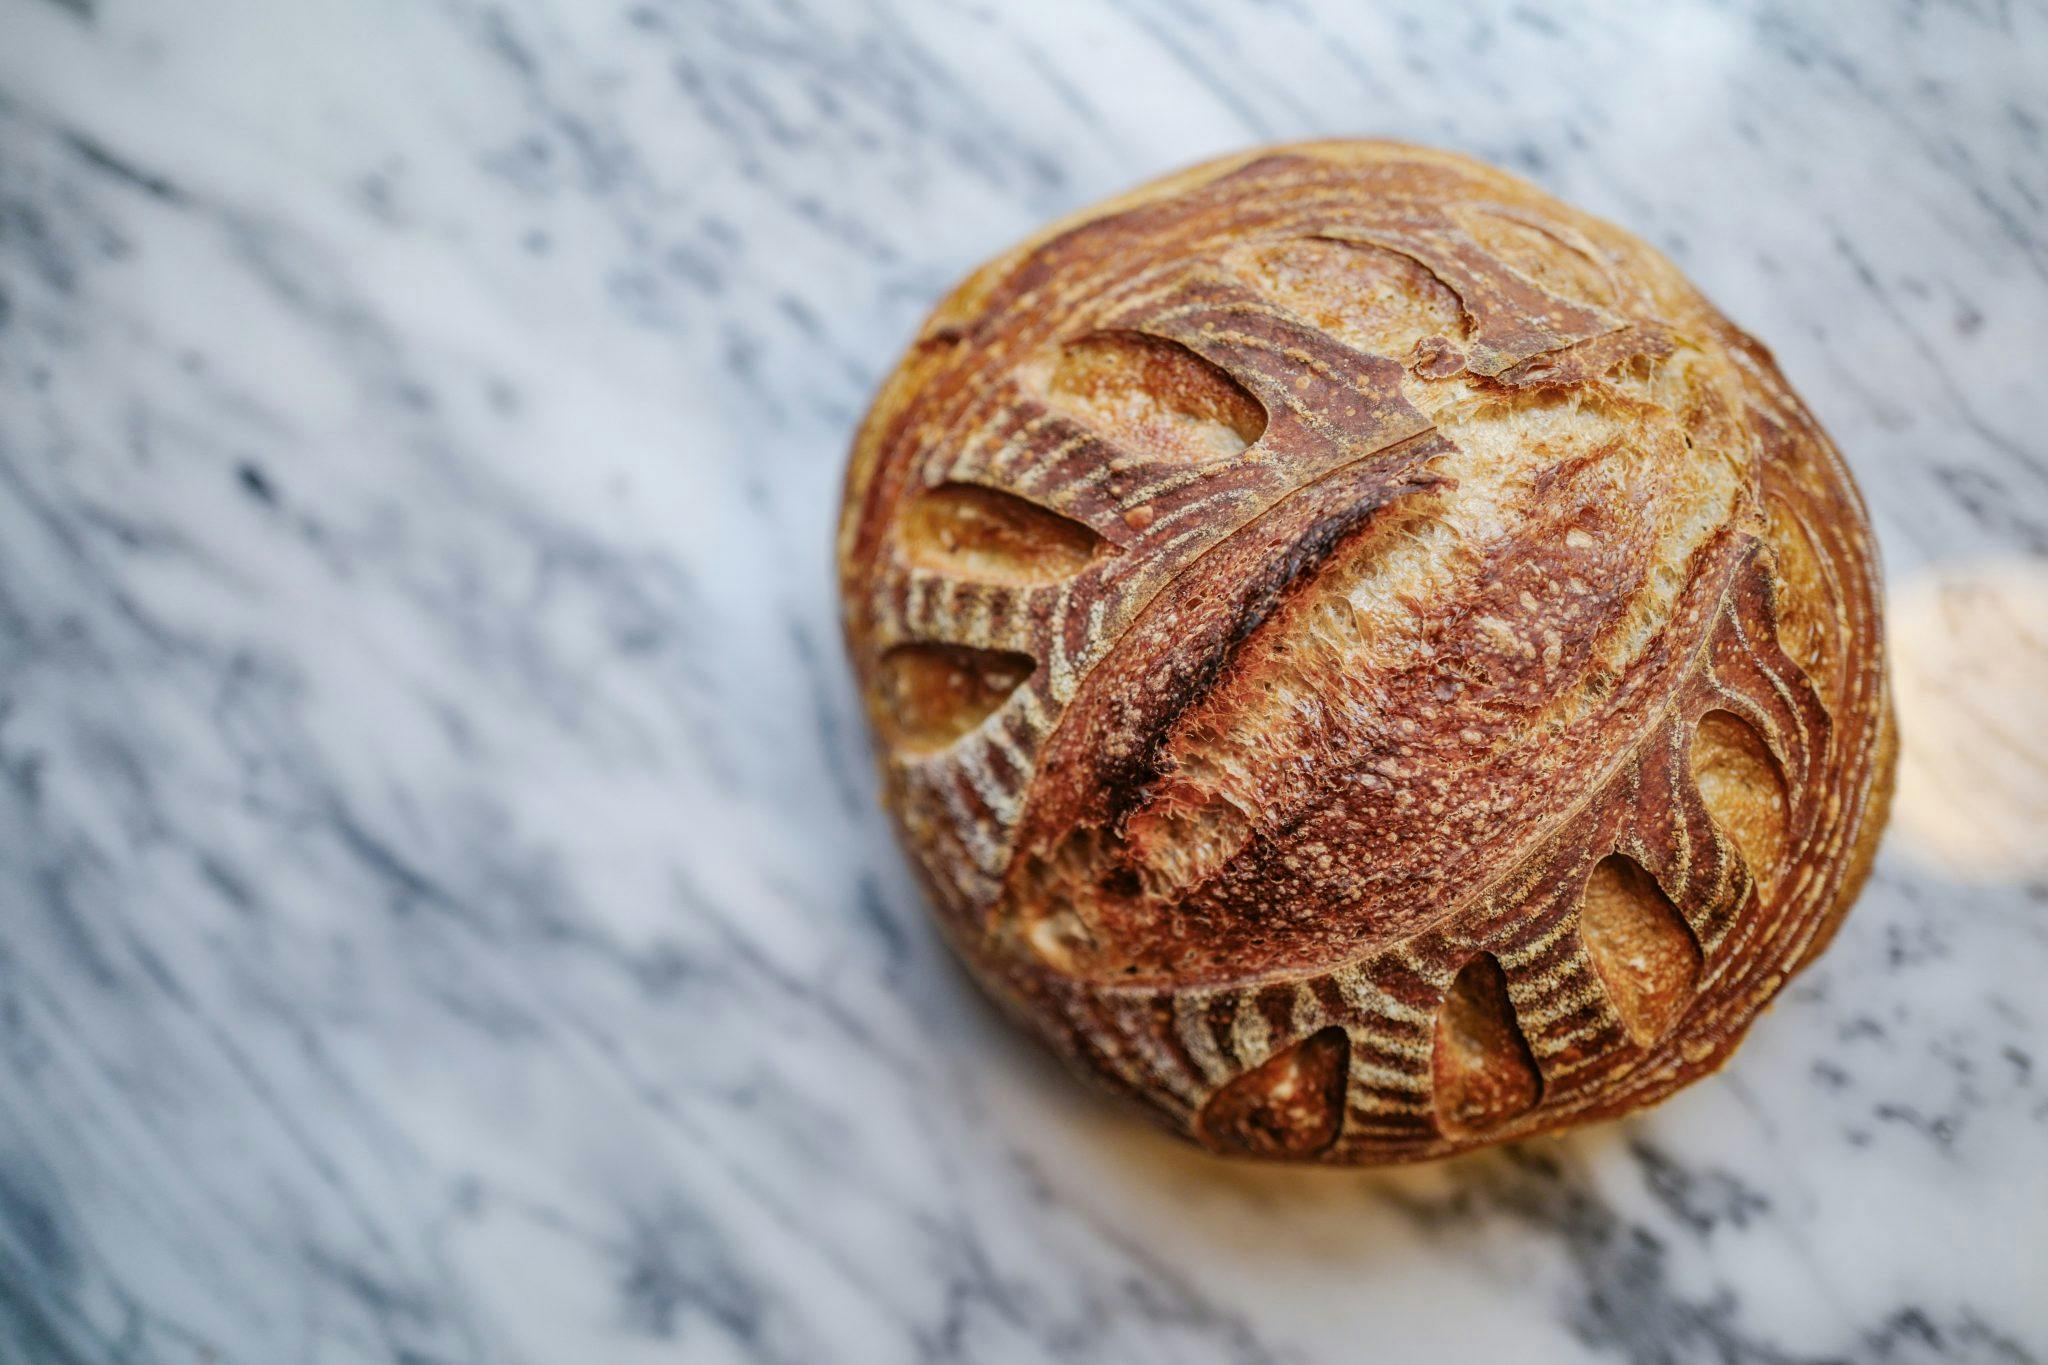
Rahoma Grains Signature Country Loaf
Our very favorite loaf. A great starter loaf and easy to master. The crumb is tender and the taste is unbelievably delicious.
Ingredients
Leaven
- 50g mature sourdough starter
- 200g warm water (75°F)
- 125g artisan bread flour
- 125g whole wheat flour
Dough Mix
- 200g leaven
- 700g warm water (80°F)
- 900g artisan bread flour
- 100g whole wheat flour
- 20g celtic sea salt
Instructions
Leaven
- The night before you plan to mix the dough (or approximately 12 hours before), discard all but 1 tablespoon of your mature starter (be sure to save some starter to be your master starter!!) . Feed the starter with 250 grams of warm (78 degree F) water and 250 grams of flour — NOTE: 1 use a 50/50 blend of bread flour and whole wheat flour, so I add 125 grams of each to feed the starter. Cover with a kitchen towel or loose lid and let the starter rise overnight at a cool room temp (68-70). This is your LEAVEN. By the morning or the end of the resting period, the leaven will be aerated by wild yeast activity and volume will have increased by at least 20 percent. The leaven should be bubbly and active and should smell sweet in an overripe-fruit sort of way.
Mix the Dough
-
Fill a large (8 cup) measuring cup or pitcher with 80 degree water. Weigh 200 grams of leaven directly into large mixing bowl. Zero out the scale and weigh 700 grams of the water into the bowl. Stir the leaven and water together with a wooden spoon or with your hand until well mixed.
-
Zero the scale and then add all of the flour to the bowl — 900 grams of bread or white flour and 100 grams of whole wheat. Thoroughly mix the flour into the wet ingredients until no dry bits of flour remain — I use a heavy duty spatula to mix initially and then switch to a dough spatula to scrape the sides of the bowl and finish combining.
-
Cover the bowl with a clean kitchen towel and let the dough rest for 25 to 40 minutes — do not skip this step! This is referred to as the autolyse process and it allows the protein and starch in the flour to absorb the water and begin to form a cohesive mass.
-
After the resting period, sprinkle the 20 grams of salt over the top of the dough and add the reserved 50 grams of 80 degree water. Mix the salt in by doing a pinching & turning motion with your hand — the dough will initially separate slightly but will come together in a smooth dough as the salt & water are incorporated.
-
At this point, transfer the dough into a vessel to begin the bulk format process. I use a Cambro plastic bucket with a tight fitting lid. This helps the dough keep its temperature. During colder months, I place the Cambro inside the oven with only the oven light on — this maintains an environment of 78 to 80 degrees for the bulk ferment process.
Folding the dough
- Set a timer for 30 minutes! At the end of the first timer setting, remove the lid and perform a set of turns or folds in the container. Wet your hands with cool water and then grab one side of the dough, pull it up and fold it toward you over the rest of the dough in the container or bowl. Turn the container a quarter turn and continue to perform these stretches & folds around the container. I usually do 6 to 8 each round to be sure all of the dough has been aerated.Reset the time for 30 minutes and repeat the stretching/folding process 3 more times (the first 2 hours of the bulk ferment process). At this point, let the dough continue the ferment process for up to 3 more hours (5 hours total). Visually check the dough after each additional hour of ferment — it should be increasing in volume and air bubbles should form along the sides of the container and the top of the dough. When the dough is done fermenting, it should be bubbly, aerated and soft.
Shaping the dough
-
Turn the dough out onto a clean, unfloured work surface — use the dough spatula to help the dough release from the bulk ferment container. Lightly flour the top of the dough and use a bench knife to separate the dough into two equal pieces. As you cut the first piece, use the bench knife to flip it so the floured side rests on the work surface. Repeat with the second piece of dough. Using the bench knife, work each piece into a somewhat rounded shape — this is the pre-shape process and the dough will not be perfectly formed at this point. After this initial shaping, cover the two loaves with a floured kitchen towel and let them rest 20 to 30 minutes. Do not skip this bench rest time!,
-
To form the final loaf shapes, light flour the top surface of each dough round, slip the bench knife under the round to lift it off the work surface, and flip so that the floured side is now resting on the countertop. Now fold each piece of dough using the letter fold method: Fold the bottom up to the middle, sealing the dough against itself; next fold each side into the middle, lightly sealing each side; lastly fold the top toward you, over the previous folds and anchor it in place with your fingers. Let the loaf rest for a few minutes while you repeat this process with the 2nd loaf — I usually perform the complete letter fold process again to get a neat “package” with each loaf. Lightly flour the outer layer of each loaf; this will be the outer crust once the loaves are baked.
-
In a small bowl, make a 50/50 mixture of rice flour and wheat flour. Line two baskets or medium bowls with clean kitchen towels and lightly flour the towels with the flour mixture. The patina of flour prevents the dough from sticking during the final rise. Using the bench knife, lift each shaped loaf off the work surface and transfer it to the bowl or basket so that the smooth side is down and the seam is centered and facing up. The loaves will now rise in preparation for baking.
-
My favorite method for the final rise is to place the loaves in the refrigerator for a minimum of 8 hours, up to 16 hours. I place each of the bowls/baskets in a large plastic bag to prevent the dough from drying out and put them in the fridge. The cool temperature of the refrigerator slows but does not stop the fermentation process. You can also let the loaves rise at room temp for 3-4 hours before baking.
Baking the Dough
-
At least 30 minutes before you are ready to bake, place a dutch oven cooker (both pot and lid) in the oven and preheat to 475 degrees F. When the oven reaches full temperature, remove the first loaf from the refrigerator or its room-temp rising location. Place a long piece of parchment paper over the top of the bowl/basket and invert the container onto the paper. Remove the bowl or basket & towel, leaving the loaf resting on the parchment paper, outer crust side up. Using a razor blade or very sharp serrated knife, score the loaf — you can do a simple slash all the way across the middle, a square score around the top or a cross type cut across the top. The scoring allows the steam to escape from the inside of the loaf and allows the loaf to rise during baking (called oven spring).
-
Using oven mitts, carefully remove the hot dutch oven and remove the lid, setting it to the side. Lift the outer edges of the parchment paper and carefully lower the scored loaf into the cooker. You made need to use a long-handled wooden spoon to flatten the paper against the edge of the cooker. Replace the lid using an oven mitt and place the hot cooker back into the oven. Immediately set the timer for 20 minutes.
-
After 20 minutes, carefully open the oven door and remove the lid from the cooker. Lower the temperature to 450 degrees and reset the timer for 25-30 minutes. You will notice that a cloud of steam was released when the lid was removed and the color of the crust should be pale and shiny. This is an indication of a well-steamed loaf! Continue to bake the bread until the crust is a deeply caramelized color. If you want a crackling crust that will stay crisp, it is important to bake your loaf out strong, until it reaches a burnished, golden brown color.
-
When the loaf has reached the desired level of doneness, carefully remove the cooker from the hot oven. Lift the loaf out by grabbing the edges of the parchment paper and place it on a cooling rack. Slide the paper out and discard. Let the loaf cool for at least 30 minutes before cutting!,
-
As soon as the first loaf is placed on the cooling rack, return the oven temp to 475 degrees and place the cooker, including the lid, back in the oven to reheat to cook the 2nd loaf. Allow it to heat up for at least 20 minutes and then repeat the process to bake the 2nd loaf!,